To configure the 3D Viewer, open your model in BeeGraphy.
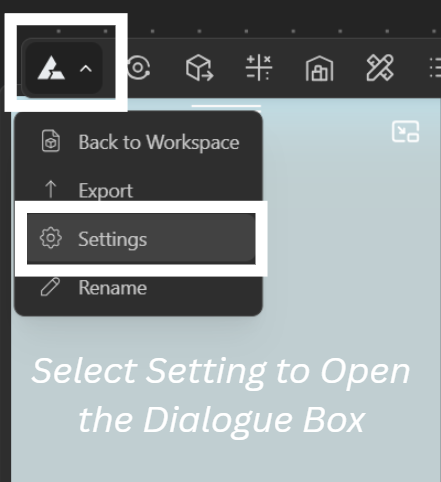
Click on the BeeGraphy icon in the top-left menu to open the dropdown/+.
Select Settings to open the dialogue box.
Navigate to the 3D Viewer tab.
3D Viewer Options
Grid – Toggle the ground grid on or off for better spatial reference.
Axes – Enable or disable the XYZ axes to help you orient your model.
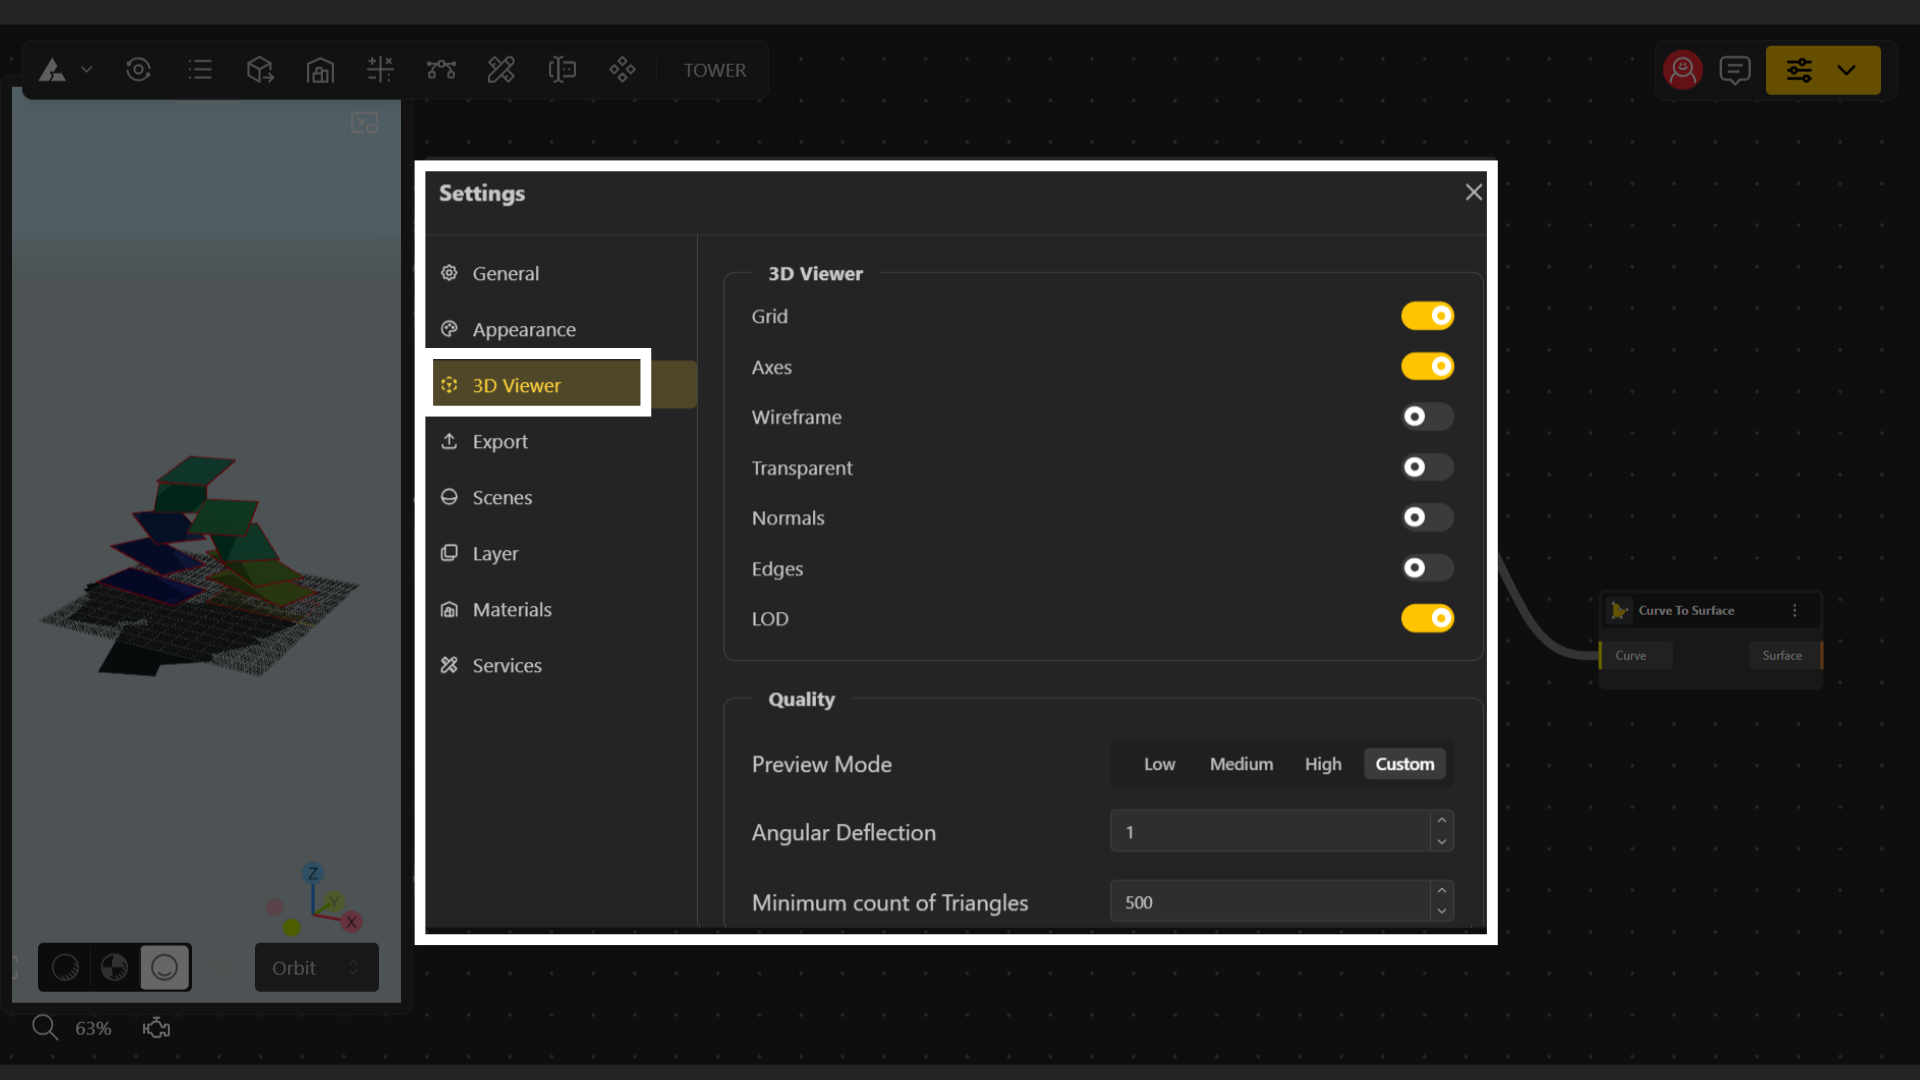
Wireframe – View your geometry in wireframe mode for a clearer look at structure and topology. (for Output see image below on Left)
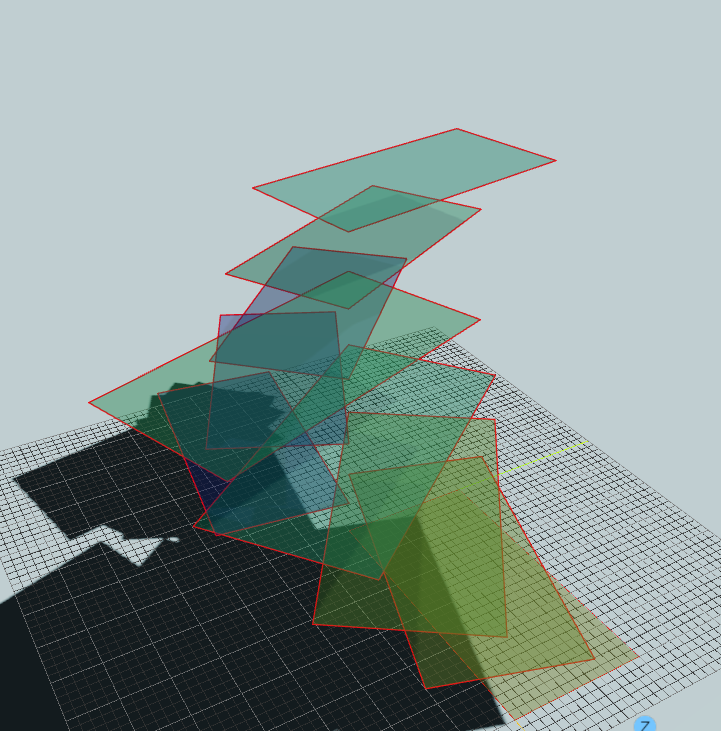
Transparent – Make objects semi-transparent to see internal structures or overlapping geometry. (for Output see image below on Right)
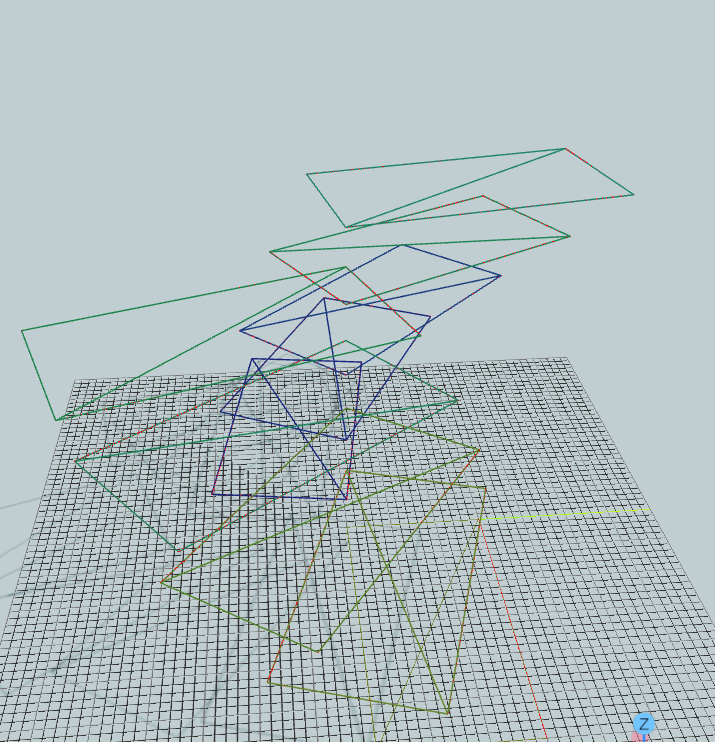
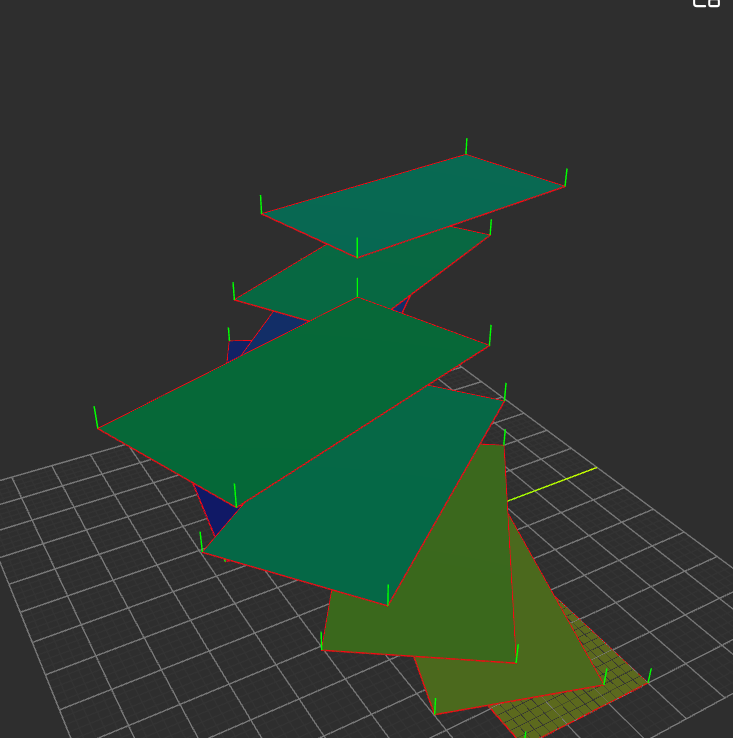
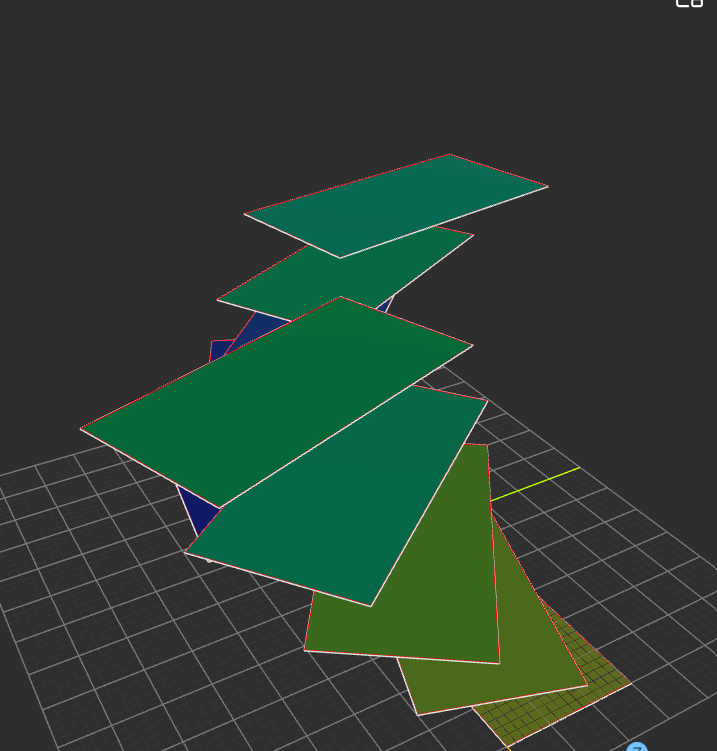
Normal – Displays the normal vectors of each point or surface, helping you understand surface orientation and evaluate shading or geometry direction. (for Output see image below on Left)
Edges – Highlights the boundary and internal edges of your model, useful for inspecting mesh sharpness, topology, and structural clarity. (for Output see image below on Right)
LOD (Level of Detail) – Adjusts the rendering detail of your model. Higher LOD shows more complexity, while lower LOD improves performance and navigation speed.
The Quality section controls how detailed your model appears in the 3D Viewer.
You can choose from four modes: Low / Medium / High / Custom

In Low, Medium, and High, BeeGraphy automatically manages all mesh-generation values for you.
Custom allows you to manually fine-tune the mesh quality using the following options:
Angular Deflection – Controls the allowed angle between mesh segments.
Lower values = smoother curves.
Higher values = faster performance.
Minimum Count of Triangles – Sets the minimum number of triangles used to form your mesh.
Maximum Count of Triangles – Sets the upper limit of triangles to prevent overly heavy geometry.