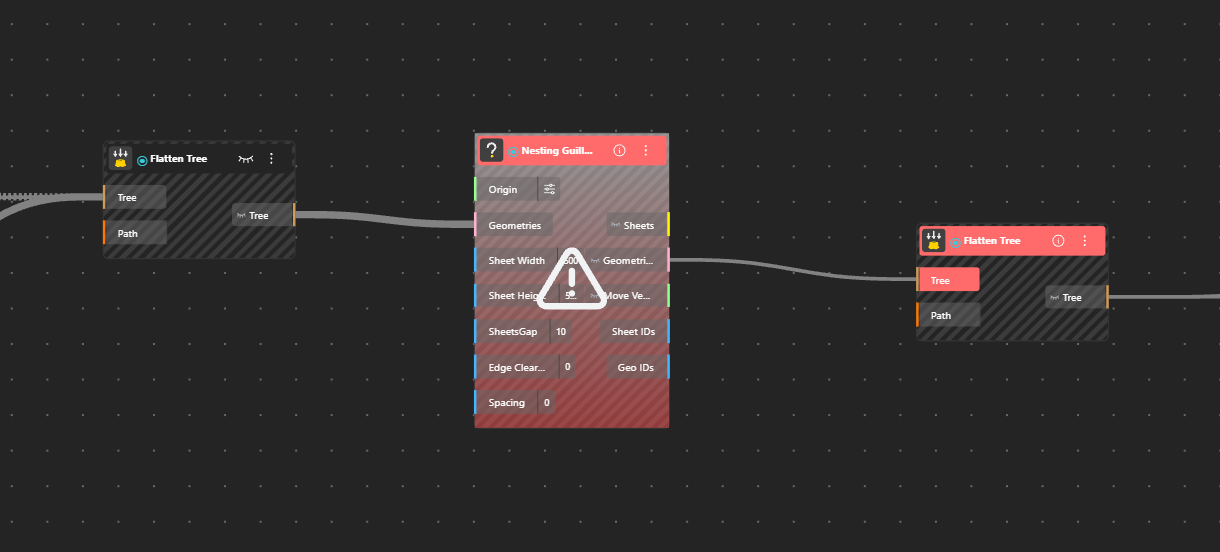
BeeGraphy is the first platform that makes adding plugins truly effortless.
No more downloading files, installing packages, or dealing with complicated setup steps.
Plugins can now be added directly inside the platform with just a few clicks making it easier than ever to extend your workspace, introduce new tools, and enhance what your models can do.
Plugins are extra add-on tools that you can install to extend the features of your main software. Think of them as small “power-ups” that give your workspace new abilities that aren’t available by default.
We use plugins because they help us:
Add new functions without waiting for the main app to update
Work faster by automating tasks or simplifying complex steps
Connect with other tools or file formats
Customize the software to fit our workflow
Bring in advanced features like special geometry operations, analysis tools, or rendering options
Open Your Workspace
Open the Model from your workspace. Drop down the Main Menu.
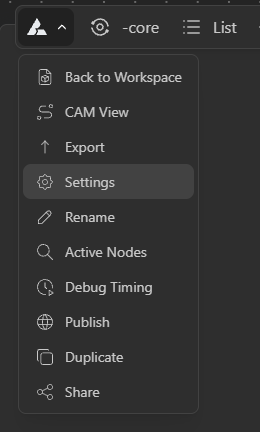
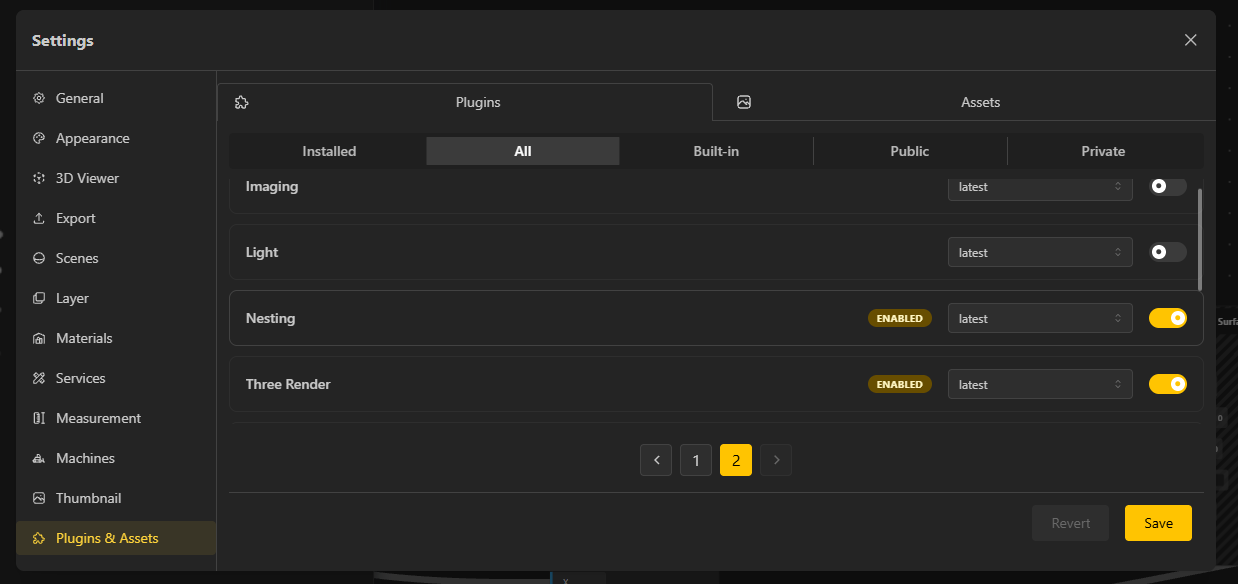
Enable the Required Plugins
Navigate to Settings → Plugins & Assets, open the Plugins tab, and enable the plugin(s) required for your model by toggling them ON. Once enabled, click Save to apply the changes before returning to your workspace. Make sure you Reload the Page.
Go back to Your Workspace
The newly added plugin will now appear in your toolbar menu. Your plugin will now be added and ready to use across your projects.
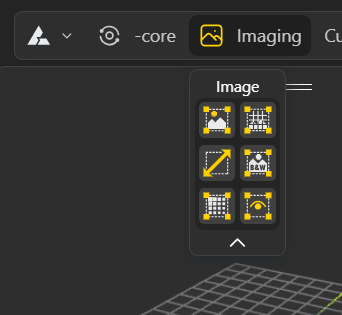
Pin or Unpin Plugins
Right-click on a plugin in the toolbar to pin or unpin it.
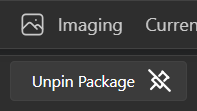
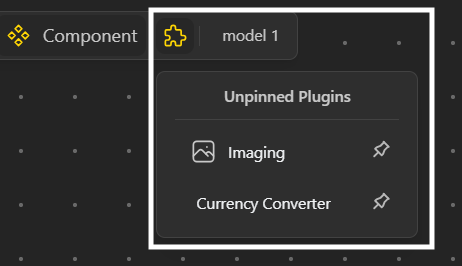
Unpinned plugins remain accessible under the Plugins icon in the toolbar.
Important: If a model or shared script uses a plugin that isn't enabled in your workspace, you'll see plugin-related errors. Enable the required plugin under Settings → Plugins & Assets, click Save, and reopen or refresh the model.