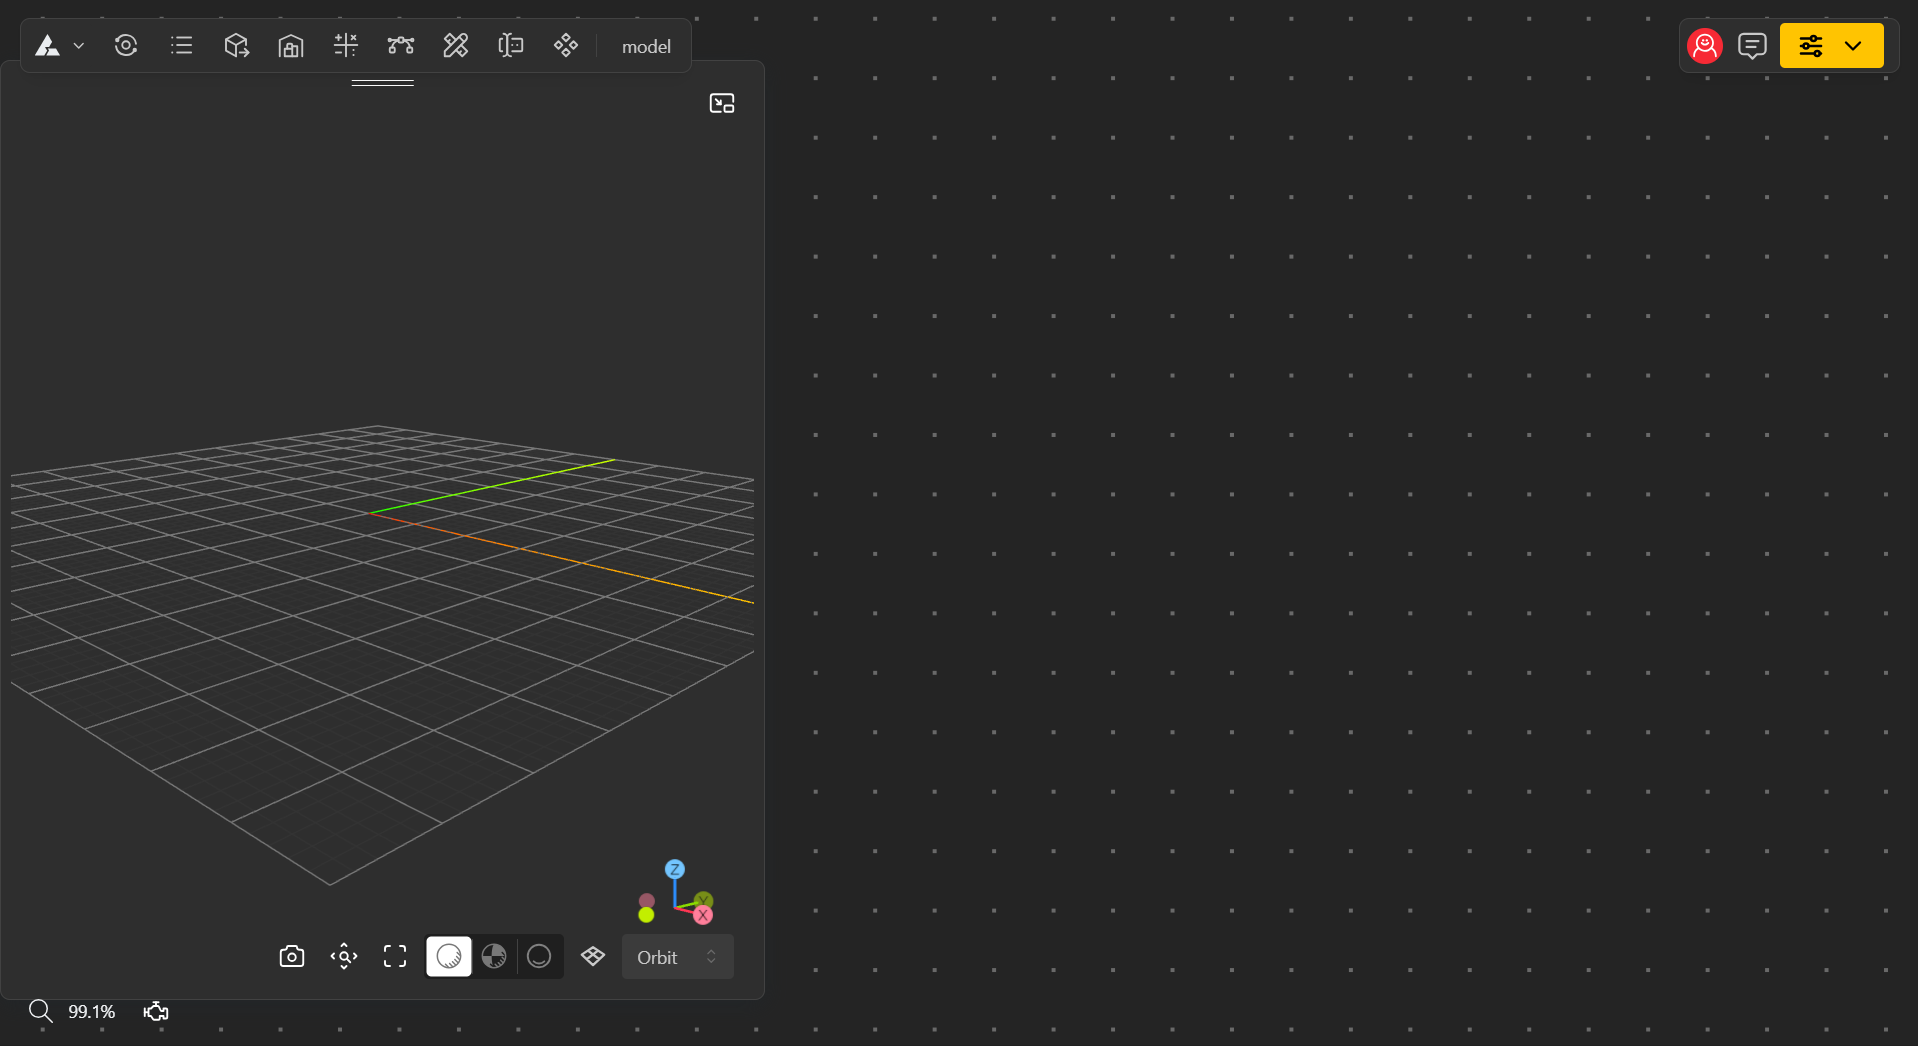
The BeeGraphy Editor is designed with a user-friendly interface that’s easy to understand and navigate. You can pan and move the canvas in all directions, adjust the scale of your view, and reposition the 3D mirror view window to suit your workflow. This flexible setup allows you to work comfortably and efficiently while exploring your models from any angle.
Once you create your first model, you’ll see the editor main canvas, where all your design work takes place. If you want to familiarize yourself with the tools, check out the article linked below.
Nodes are the basic building blocks in BeeGraphy that perform a specific operation — like adding a point, manipulating geometry, adding vectors, inputs and so many more. You connect nodes with wires to pass information and build parametric models.
Choose nodes from the top menu, or simply double-click on the canvas and type the name of the node you want.
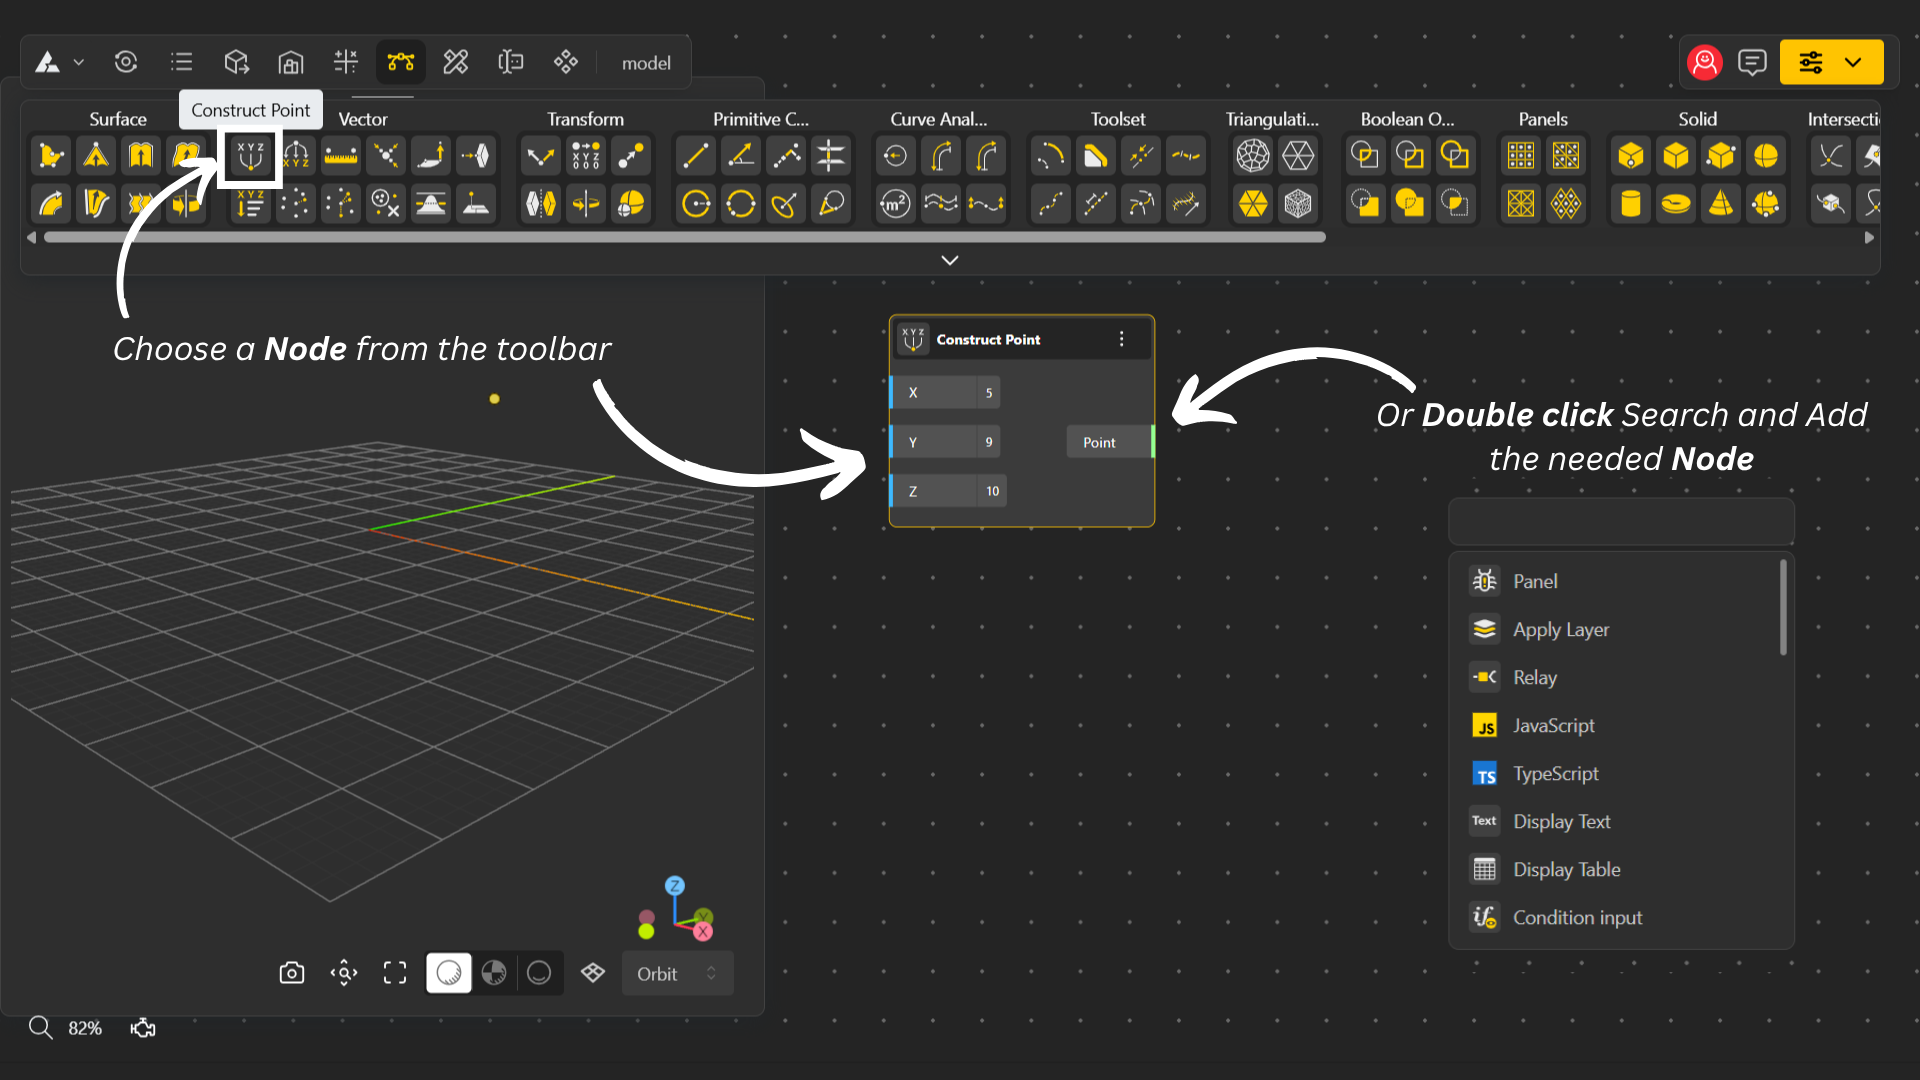
Choose nodes from the top menu, or simply double-click on the canvas and type the name of the node you want.
Building your design: Once you have a node, you can add more nodes to your canvas and start designing.
Connecting nodes: Draw wires from one node to another to create connections and form functional blocks.
Important: You can only connect nodes that share the same data type.