The Settings panel in the Editor lets you control how your environment behaves, looks, and performs. It centralizes all configuration options—from basic model details to advanced debugging tools—so you can tailor the workspace to your needs.
Whether you're optimizing performance, adjusting visual preferences, or managing outputs like materials, scenes, and machines, the Settings panel gives you quick access to everything in one place.
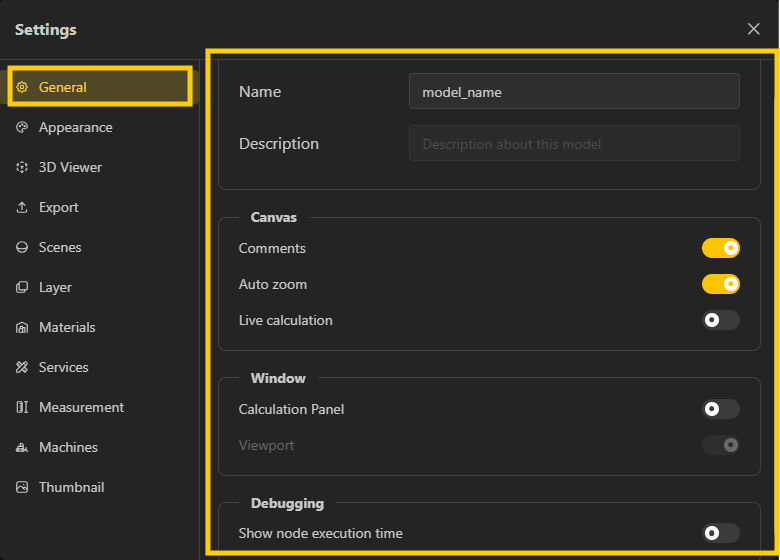
Name: Set the model’s display name.
Description: Add a brief explanation of what the model does.
Comments: Enable/disable comments on the canvas.
Auto Zoom: Automatically adjusts view to fit content.
Live Calculation: Updates results in real-time (turn off for better performance on heavy models).
Calculation Panel: Shows node outputs and computed values.
Viewport: Controls visibility/behavior of the 3D view.
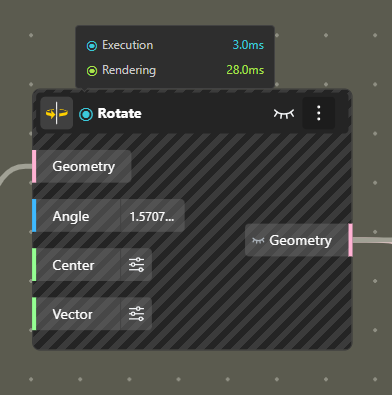
Show Node Execution Time: Displays how long each node takes to compute (useful for optimization).
The Appearance Settings let you customize how your workspace looks and feels, helping you create a more comfortable and visually clear working environment. Switch between Light and Dark mode based on your preference.

What are Scenes and how to Change / Switch them?
Get to know what scenes are and how they help you manage different visual setups in your workspace. Learn how to change or switch scenes to quickly adjust the look and context of your model.
3D Output Window
Get to know the different 3D view options available in the Editor and how to adjust your 3D mode for better navigation, visualization, and control while working on your models.
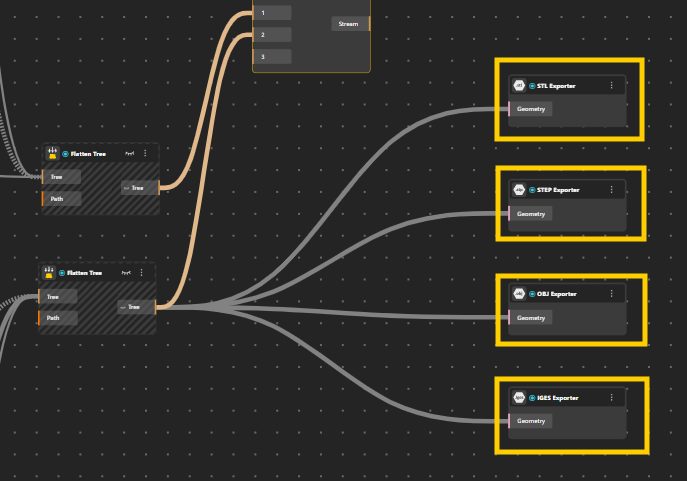
The Export Settings panel lets you control how your model is converted into downloadable files. You can export in multiple formats and adjust quality based on your use case, whether it's for visualization, sharing, or manufacturing.
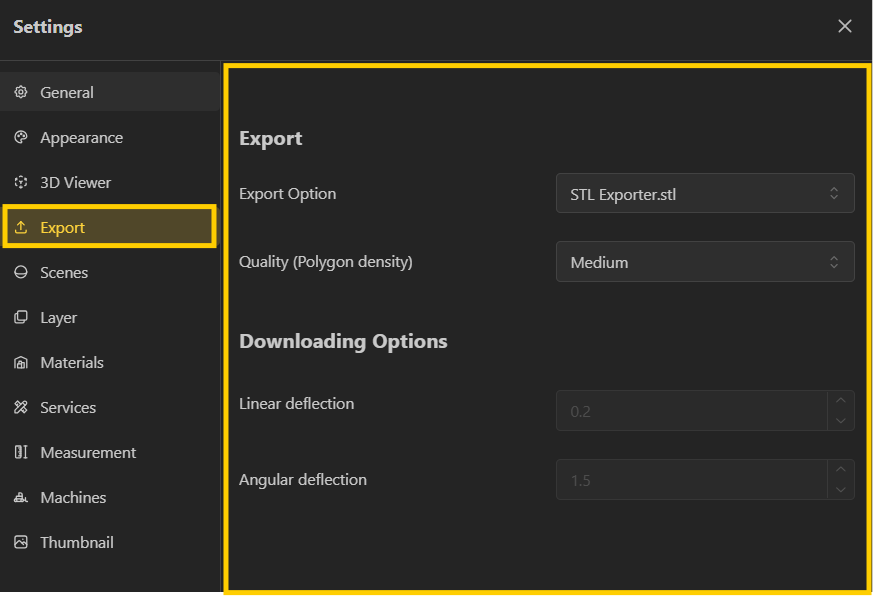
Export Option: Choose the file format for export (e.g., STL, OBJ, GLB, TXT etc.).
Supports multiple formats depending on your workflow: STL for 3D printing, OBJ/GLB for rendering and visualization. G-Code for exporting the G-Code.
Quality (Polygon Density)
Controls how detailed the exported mesh is.
Low: Lightweight, faster export, less detail.
Medium: Balanced performance and quality.
High: Maximum detail, heavier file size.
Linear Deflection
Controls how closely the mesh follows the original geometry.
Lower values = higher accuracy and smoother surfaces.
Angular Deflection
Controls how sharply curves are approximated.
Lower values = better curve precision.
Simply add the Export node and connect it to your geometry. Once added, the geometry becomes available for download in the selected format.
How do I assign or edit Materials?
How do I assign or edit Materials?
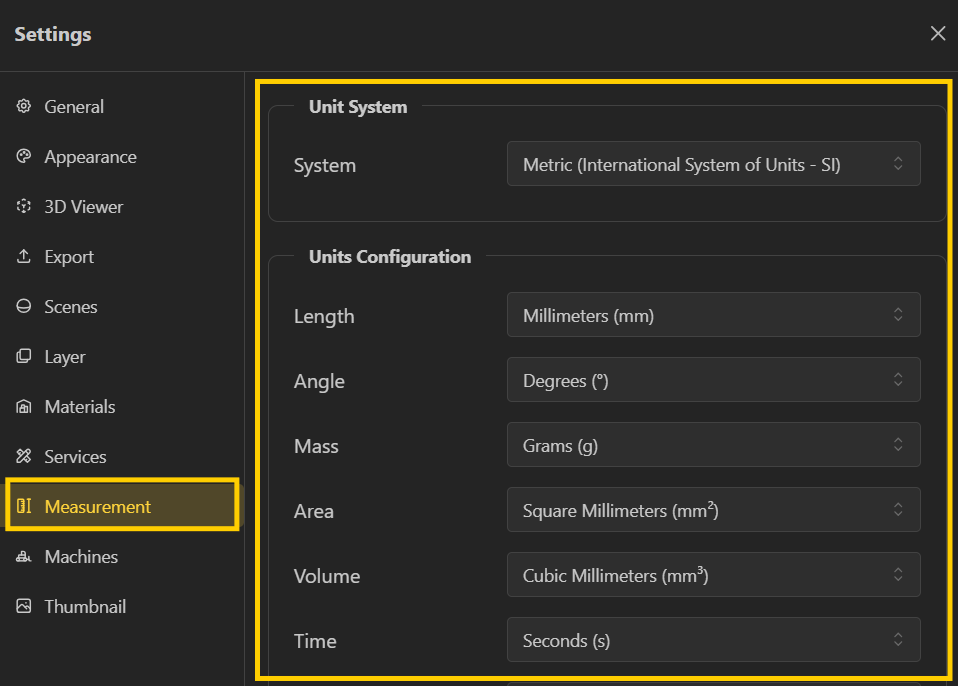
The Measurement System allows you to assign units like mm, cm, or degrees directly to your inputs, instead of using plain numbers.
Service Nodes
Learn how Service nodes let you calculate material requirements or costs based on count, length, area, volume, weight, or time
The Thumbnail is the preview image of your model that appears in the dashboard, shared links, and published views, helping users quickly understand your model at a glance. You can set it by capturing the current viewport, but you can also choose from different types like static thumbnails, 360° spin, or rocking views for a more dynamic preview. You can further control how these appear by adjusting settings like frame rate. This gives you flexibility to present your model in the most clear and engaging way.